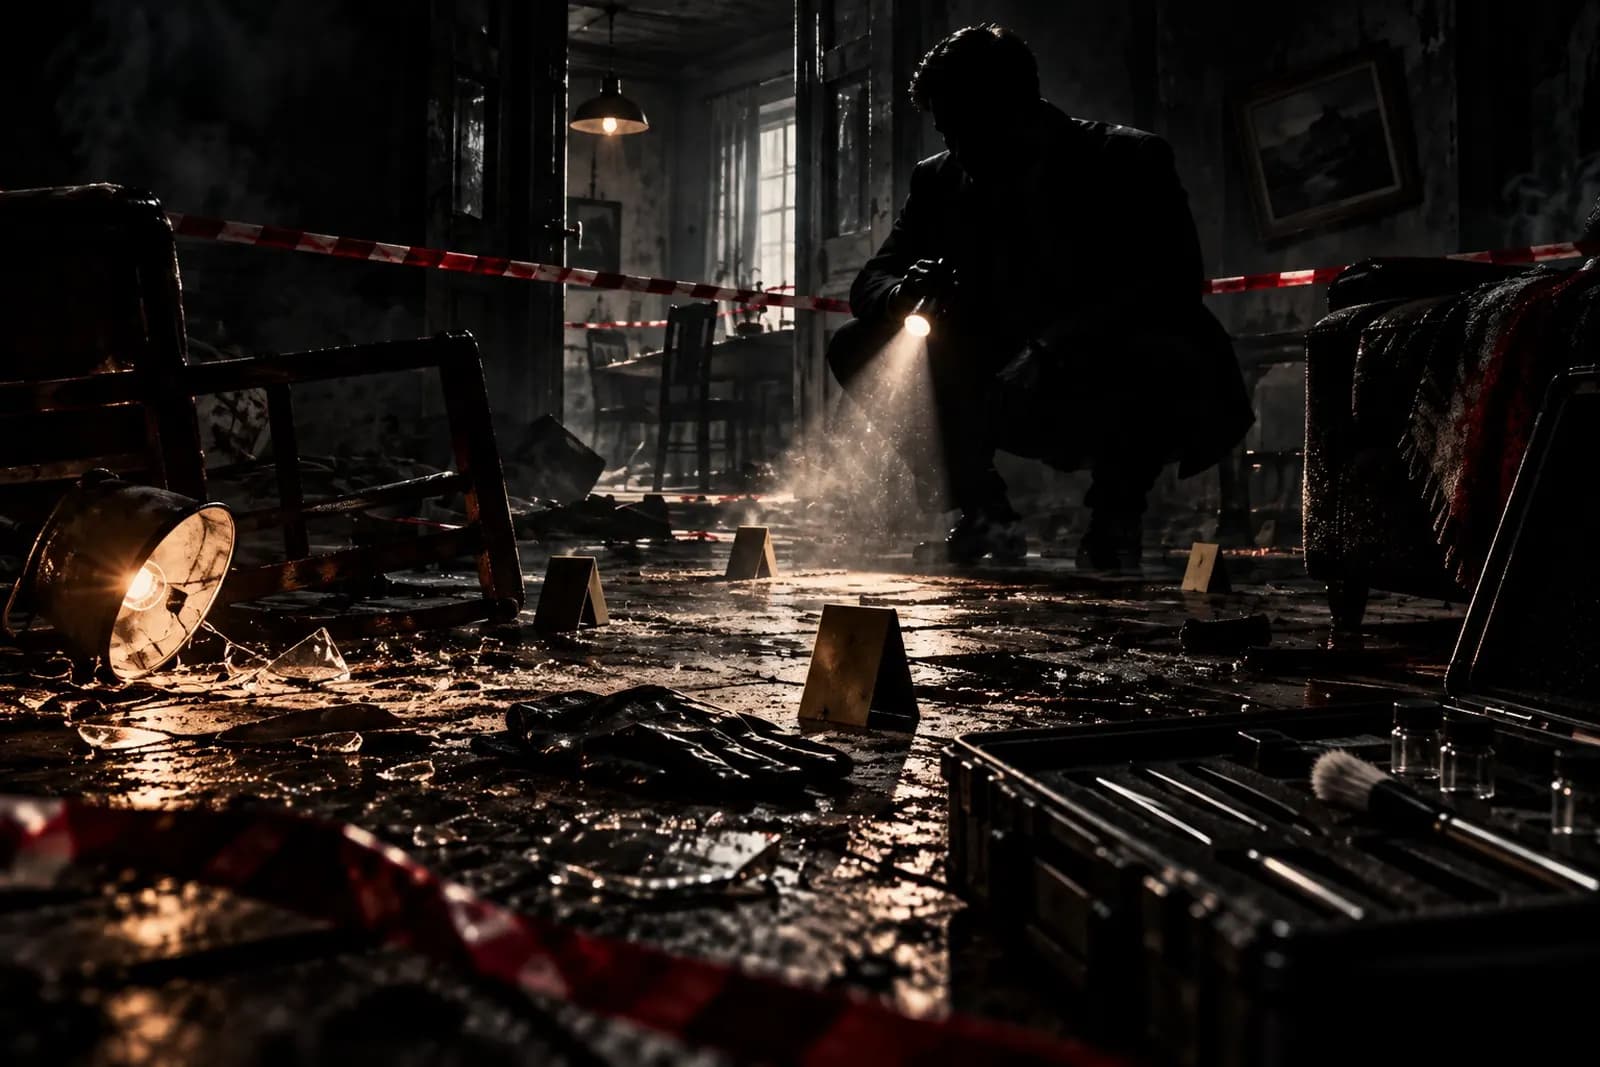
On television, a crime scene is solved in a montage: someone in a white suit finds a hair, the music swells, and a suspect is named before the commercial break. In real life it is slow, repetitive and deliberately boring. Most of the work is about one thing: making sure that what investigators find later is exactly what was there when the first officer arrived.
This article walks through the stages of a crime scene investigation in the order they usually happen, based on the guide the U.S. National Institute of Justice (NIJ) publishes for law enforcement. Procedures differ between agencies and countries, so treat this as an overview of the general approach rather than a rulebook.
Why the order matters
A crime scene is a collection of fragile information: where things are, what is open or closed, what can be smelled, what will melt, dry or blow away within the hour. Every person who walks in can change it. Once something is moved, stepped on or cleaned up, it cannot be put back exactly as it was.
That is why the NIJ guide opens with a simple principle: preserve the scene with minimal contamination and disturbance of physical evidence, and make the response "expeditious and methodical." Everything below follows from that idea.
Step 1: The first responder arrives
The first officer on the scene is called the initial responding officer. Their job is not to solve anything. It is to assess, protect and hand over. According to the guide, they should:
- Note the dispatch information: address, time, date, type of call and the people involved.
- Treat the location as a crime scene until it has been assessed and determined to be otherwise.
- Approach cautiously and observe. Look, listen and smell, watch for people or vehicles leaving, and note any possible secondary scenes, such as a place where a victim or vehicle may have been moved.
- Put safety first. Officers check for immediate threats to people, including hazards such as gasoline or natural gas, and call for backup. Special situations, such as a suspected drug lab or a chemical or radiological threat, mean calling the right specialists before anyone enters.
Step 2: Help the injured, protect the scene
If someone is hurt, medical care comes first. The guide is clear that the responding officer should assess the victim for signs of life, call for medical help, and then do two things at once: save the person and protect the scene.
In practice that means guiding paramedics along a single path to the patient, pointing out evidence so they avoid stepping on or disturbing it, and asking them not to "clean up" or remove items. Medical staff are also asked to preserve a victim's clothing and personal effects, for example without cutting through bullet holes or knife tears, so that the clothing can be examined later. Any movement of people or objects by medical personnel is written down. If a victim or suspect is taken to hospital, an officer goes along where possible to document anything they say and to preserve evidence.
Step 3: Secure and control the people
Next, the responding officer identifies everyone present and controls their movement. The guide separates them into groups:
- Suspects and witnesses are secured and kept apart from each other.
- Bystanders are checked to see whether they saw something; if not, they are removed from the scene.
- Victims, family and friends are controlled "while showing compassion," as the guide puts it.
- Unauthorized and nonessential people, including officers not working the case and the media, are kept out.
Step 4: Set the boundaries
The officer then defines the scene's boundaries, starting at the focal point and working outward. The area includes where the crime happened, the likely paths suspects and witnesses used to enter and leave, and places where a victim or evidence may have been moved.
The guide gives a practical rule: boundaries should be drawn wider than they first seem necessary, because a scene can be made smaller later but cannot easily be made larger. Barriers can be tape, ropes, cones, vehicles or officers, or existing walls, doors and gates.
From the moment boundaries exist, anyone who enters or leaves is written down on an entry/exit log. A dedicated "log officer" keeps it, and everyone entering needs a stated purpose. People are told not to smoke, eat, use the phone or bathroom, move items, adjust the thermostat or open windows and doors, because the aim is to keep the scene as it was found. Evidence that could be lost, for instance to rain or footsteps, is protected right away.
Step 5: Hand over and brief
When the investigator in charge arrives, the first responder gives a detailed briefing and stays at the scene until relieved. The guide calls this briefing the only opportunity for the next person in command to learn how the scene looked before the investigation began. The first responder's notes, covering what the scene looked like on arrival (lights on or off, doors and windows open or closed, smells, weather, the position of people and objects), become part of the permanent record.
Step 6: Assessment and walk-through
Now the investigator in charge takes over and decides how big the investigation needs to be. They speak with the first responders, check safety issues, work out whether a search warrant or consent is needed, and set up two more things: a secure area near the scene for staging equipment, and a place to store evidence temporarily under chain-of-custody rules. They also make sure witnesses are identified and separated and that the surrounding area is canvassed.
Then comes the walk-through. The investigator in charge and the people who will process the scene go in together, along a single established path, to get an overview of the whole scene before anything is touched. The guide says a walk-through should only happen if it will not disturb evidence, and that fragile evidence, such as something that could be washed away or blown off, is documented and collected first.
During the walk-through the team notes details that seem small but can matter later:
- whether doors and windows were open, closed, locked or forced;
- which lights were on and whether shades were open;
- odors such as smoke, gas or perfume;
- signs of recent activity, such as dishes in the sink or a television left on;
- clues to time, such as mail, newspapers, stopped clocks or food that should have been hot or cold;
- the room's temperature and other conditions.
Step 7: Plan the team and control contamination
After the walk-through, the investigator in charge decides who is needed: photographers, sketch artists, latent print examiners, evidence collectors and specialists. Team members and assignments are written down.
The guide also lists basic contamination rules. Only people directly involved may enter, everyone uses the established routes, protective equipment is worn, tools are cleaned or replaced between items, and single-use equipment is used when collecting biological samples. First responders and medical staff may be asked for fingerprints or shoe impressions, called elimination samples, so their traces can be told apart from the ones that matter.
Step 8: Document everything before collecting anything
Documentation comes before collection, because collecting evidence changes the scene. Teams use several methods together:
| Method | What it records |
|---|---|
| Notes and logs | Who did what, when, and what was observed |
| Photographs | Overall, medium and close-up views; evidence shown with and without a measurement scale |
| Sketches | Measured diagrams showing the scene's layout and where each item lies, with north marked |
| Video | An optional supplement to photographs |
The guide's three-level approach to photography, from the whole scene down to the single object, is designed so that a reviewer who was never there can understand where each item was and how it related to everything around it.
Step 9: Search for evidence and collect it in the right order
The guide describes four common ways to search a scene:
- Lane (strip) search: searchers walk in parallel lines in the same direction.
- Grid search: a lane search followed by a second one at right angles, which takes about twice as long but is more thorough.
- Zone search: the area is divided into zones, each searched in turn.
- Spiral search: searchers move in a spiral from the outside in, or from the center out.
Evidence is collected in a deliberate order: the most fragile and easily lost evidence first, and the least intrusive methods before the most intrusive ones, so that early techniques do not ruin later ones. Teams also work through one scene at a time so that traces from a victim, a suspect or a vehicle are not mixed up.
Each item is documented where it lies, then collected, labeled, dated and initialed, and packaged in a suitable container, since different kinds of evidence need different packaging. Collection is recorded with the item's location, date and the name of the collector, and a chain of custody begins: a written record of every person who has held the evidence, so that the handling of the evidence can be reviewed later.
Step 10: Debrief, final survey and release
Before a scene is released, the team holds a debriefing: what was collected, what the preliminary findings are, what laboratory tests are planned and who is responsible for what next.
Then the investigator in charge directs a final survey, a last walk-through to make sure each area has been inspected, all evidence is accounted for, no equipment or materials from the investigation are left behind, and any hazards have been reported. Only then is the scene released, following the rules of the jurisdiction.
Finally the paperwork is gathered into a case file: the first responder's notes, medical records, entry/exit logs, photographs, sketches, evidence records, any consent form or warrant, and later the laboratory reports. The guide says this allows for independent review of the work done.
Myths and facts
| Myth | Fact |
|---|---|
| Detectives or forensic experts do everything themselves. | Most scenes involve patrol officers, supervisors, evidence technicians, medical staff and specialists, each with a defined role. |
| The scene is processed in minutes. | The process is methodical, and much of it is documentation: notes, photographs, sketches and logs made before anything is collected. |
| Investigators can touch things and move them to get a better look. | Items are documented where they lie before they are moved, and movement is recorded. |
| One scene means one place. | Investigators look for secondary scenes, such as where a victim or vehicle was moved. |
Frequently asked questions
Who is in charge of a crime scene?
The first officer controls the scene until the investigator in charge arrives and takes responsibility. After that, the first responder helps and remains until relieved.
How long does a crime scene stay closed?
There is no set time. A scene is released after the final survey confirms the investigation is complete, following the rules of the jurisdiction. The guide also acknowledges special circumstances, such as scenes that can only be held for a limited time, where procedures have to be adapted.
Why do investigators wear protective suits?
According to the NIJ guide, protective equipment serves two purposes: it protects personnel from hazards such as blood-borne pathogens, and it helps keep the investigators from contaminating the scene.
What is a chain of custody?
It is the written record of everyone who has handled a piece of evidence, from collection onward. It exists so that anyone reviewing the case can see that the evidence was kept secure and tracked at every stage.
Where the app fits in
If the quiet, taped-off look of these places is what draws you in, the Crime Scenes collection in the True Crime Coloring Book app turns it into line art: cordoned streets, empty rooms and small details lit by a flashlight beam, waiting for you to add the color. The artwork is illustrative rather than graphic.
Sources
- National Forensic Science Technology Center for the National Institute of Justice, Crime Scene Investigation: A Guide for Law Enforcement (NCJ 243598, 2013), sections A–D: initial response, safety, emergency care, controlling persons, boundaries, documentation, team composition, contamination control, search methods, evidence handling, debriefing, final survey and case file.
- National Institute of Justice, publication page for the guide, with the publication details and a summary.